Help

Set up sending · Step 2a

Verify a BYO domain

Your apex and sending subdomains will verify at your own DNS host.

  1. Add the apex you already own

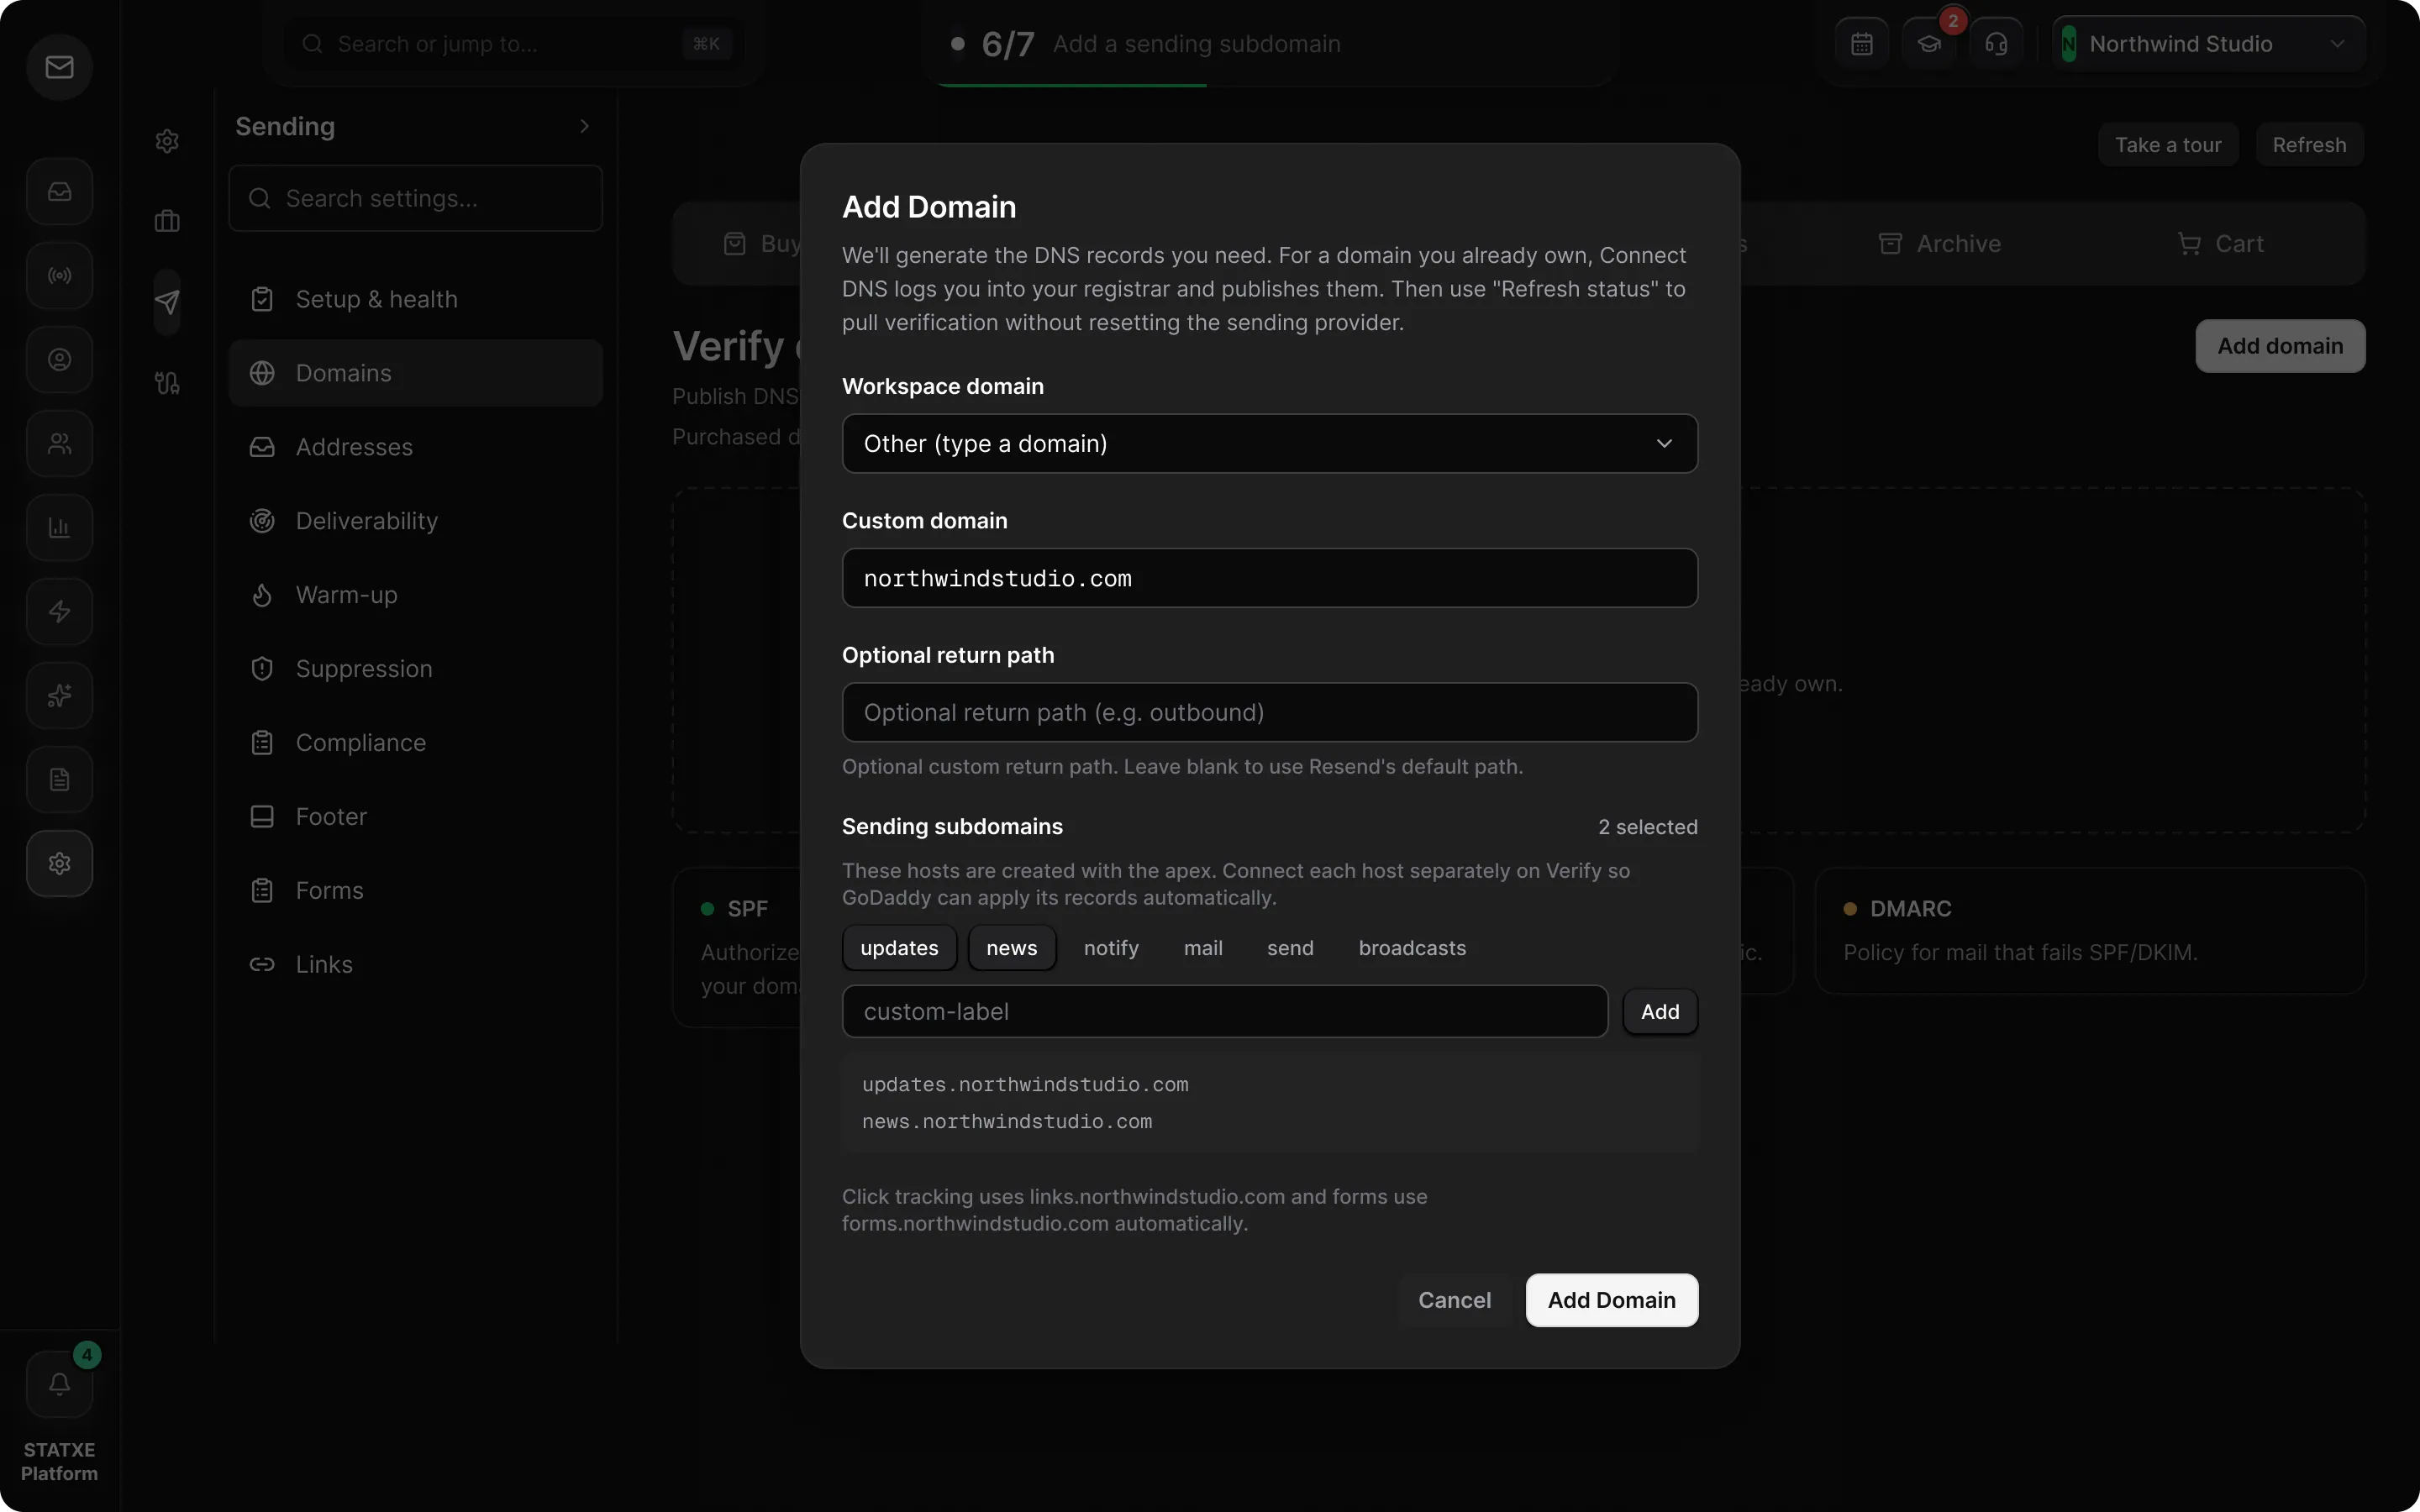
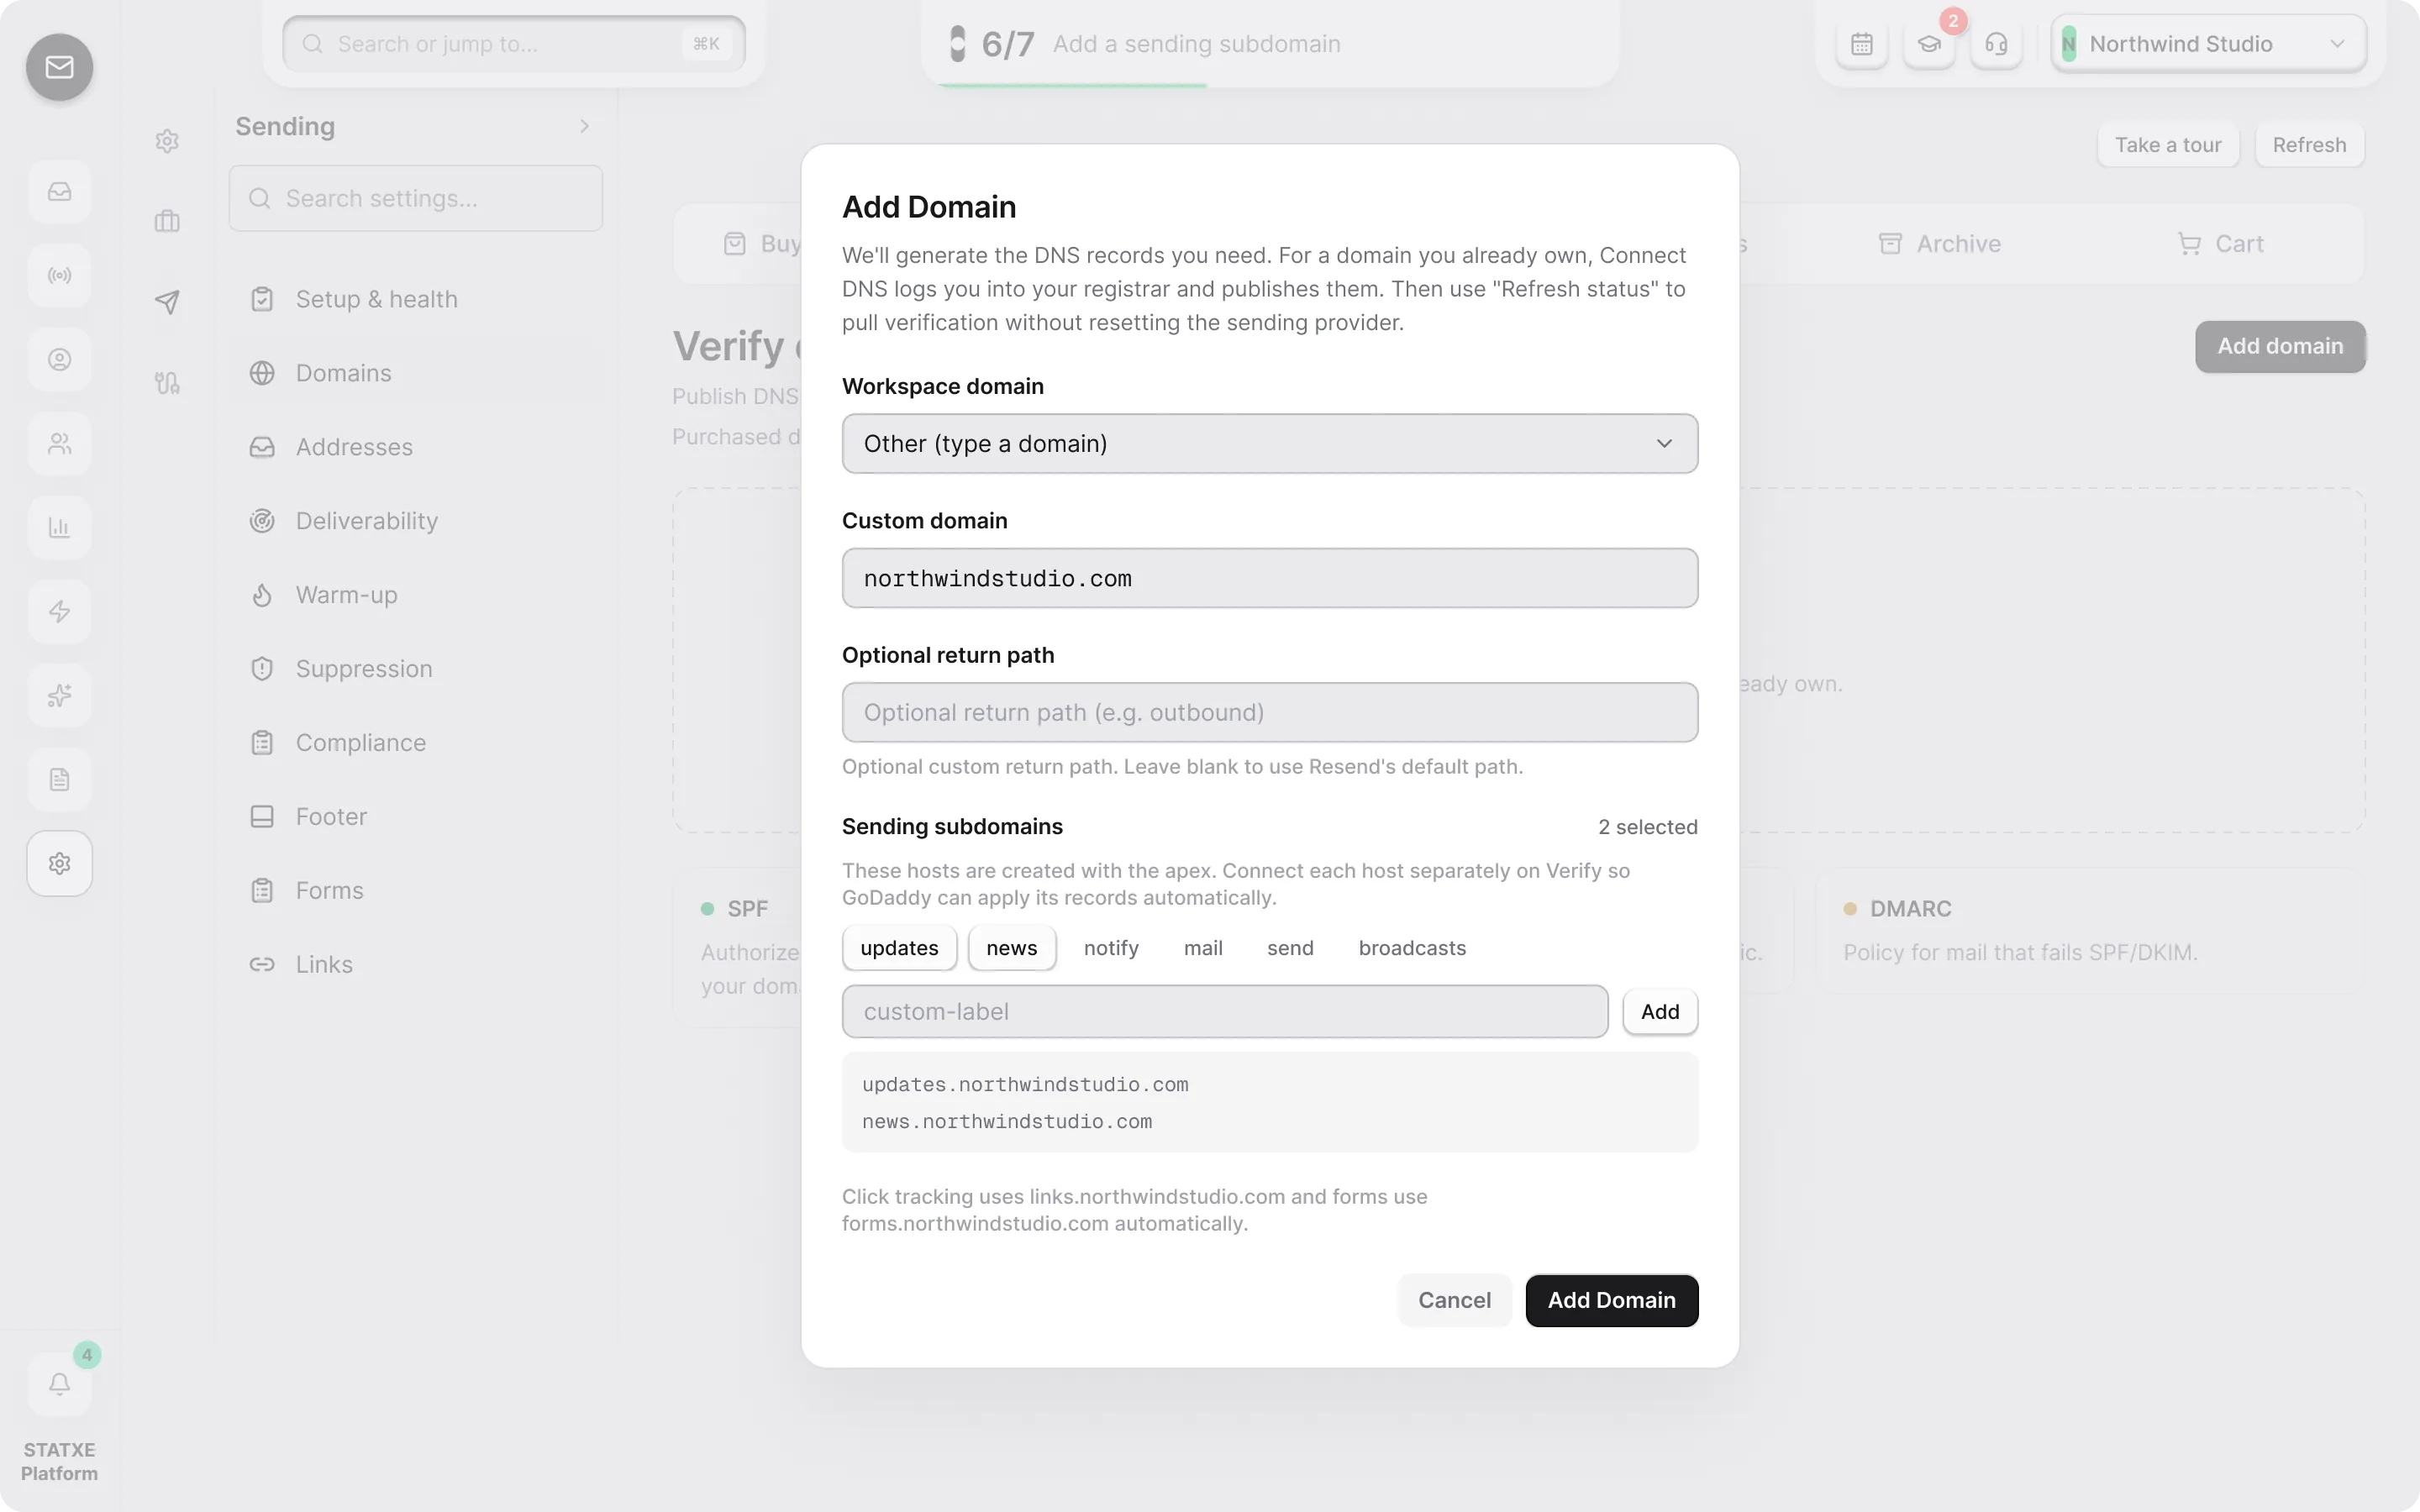
    Go to Settings → Domains. If the page opens on Buy a domain, switch to Verify domain. Choose Add domain and enter the apex only — yourbrand.com, not www and not a mailbox.

    Buying a new name from STATXE is a different path: Verify your domain.

  2. Copy the records STATXE generated

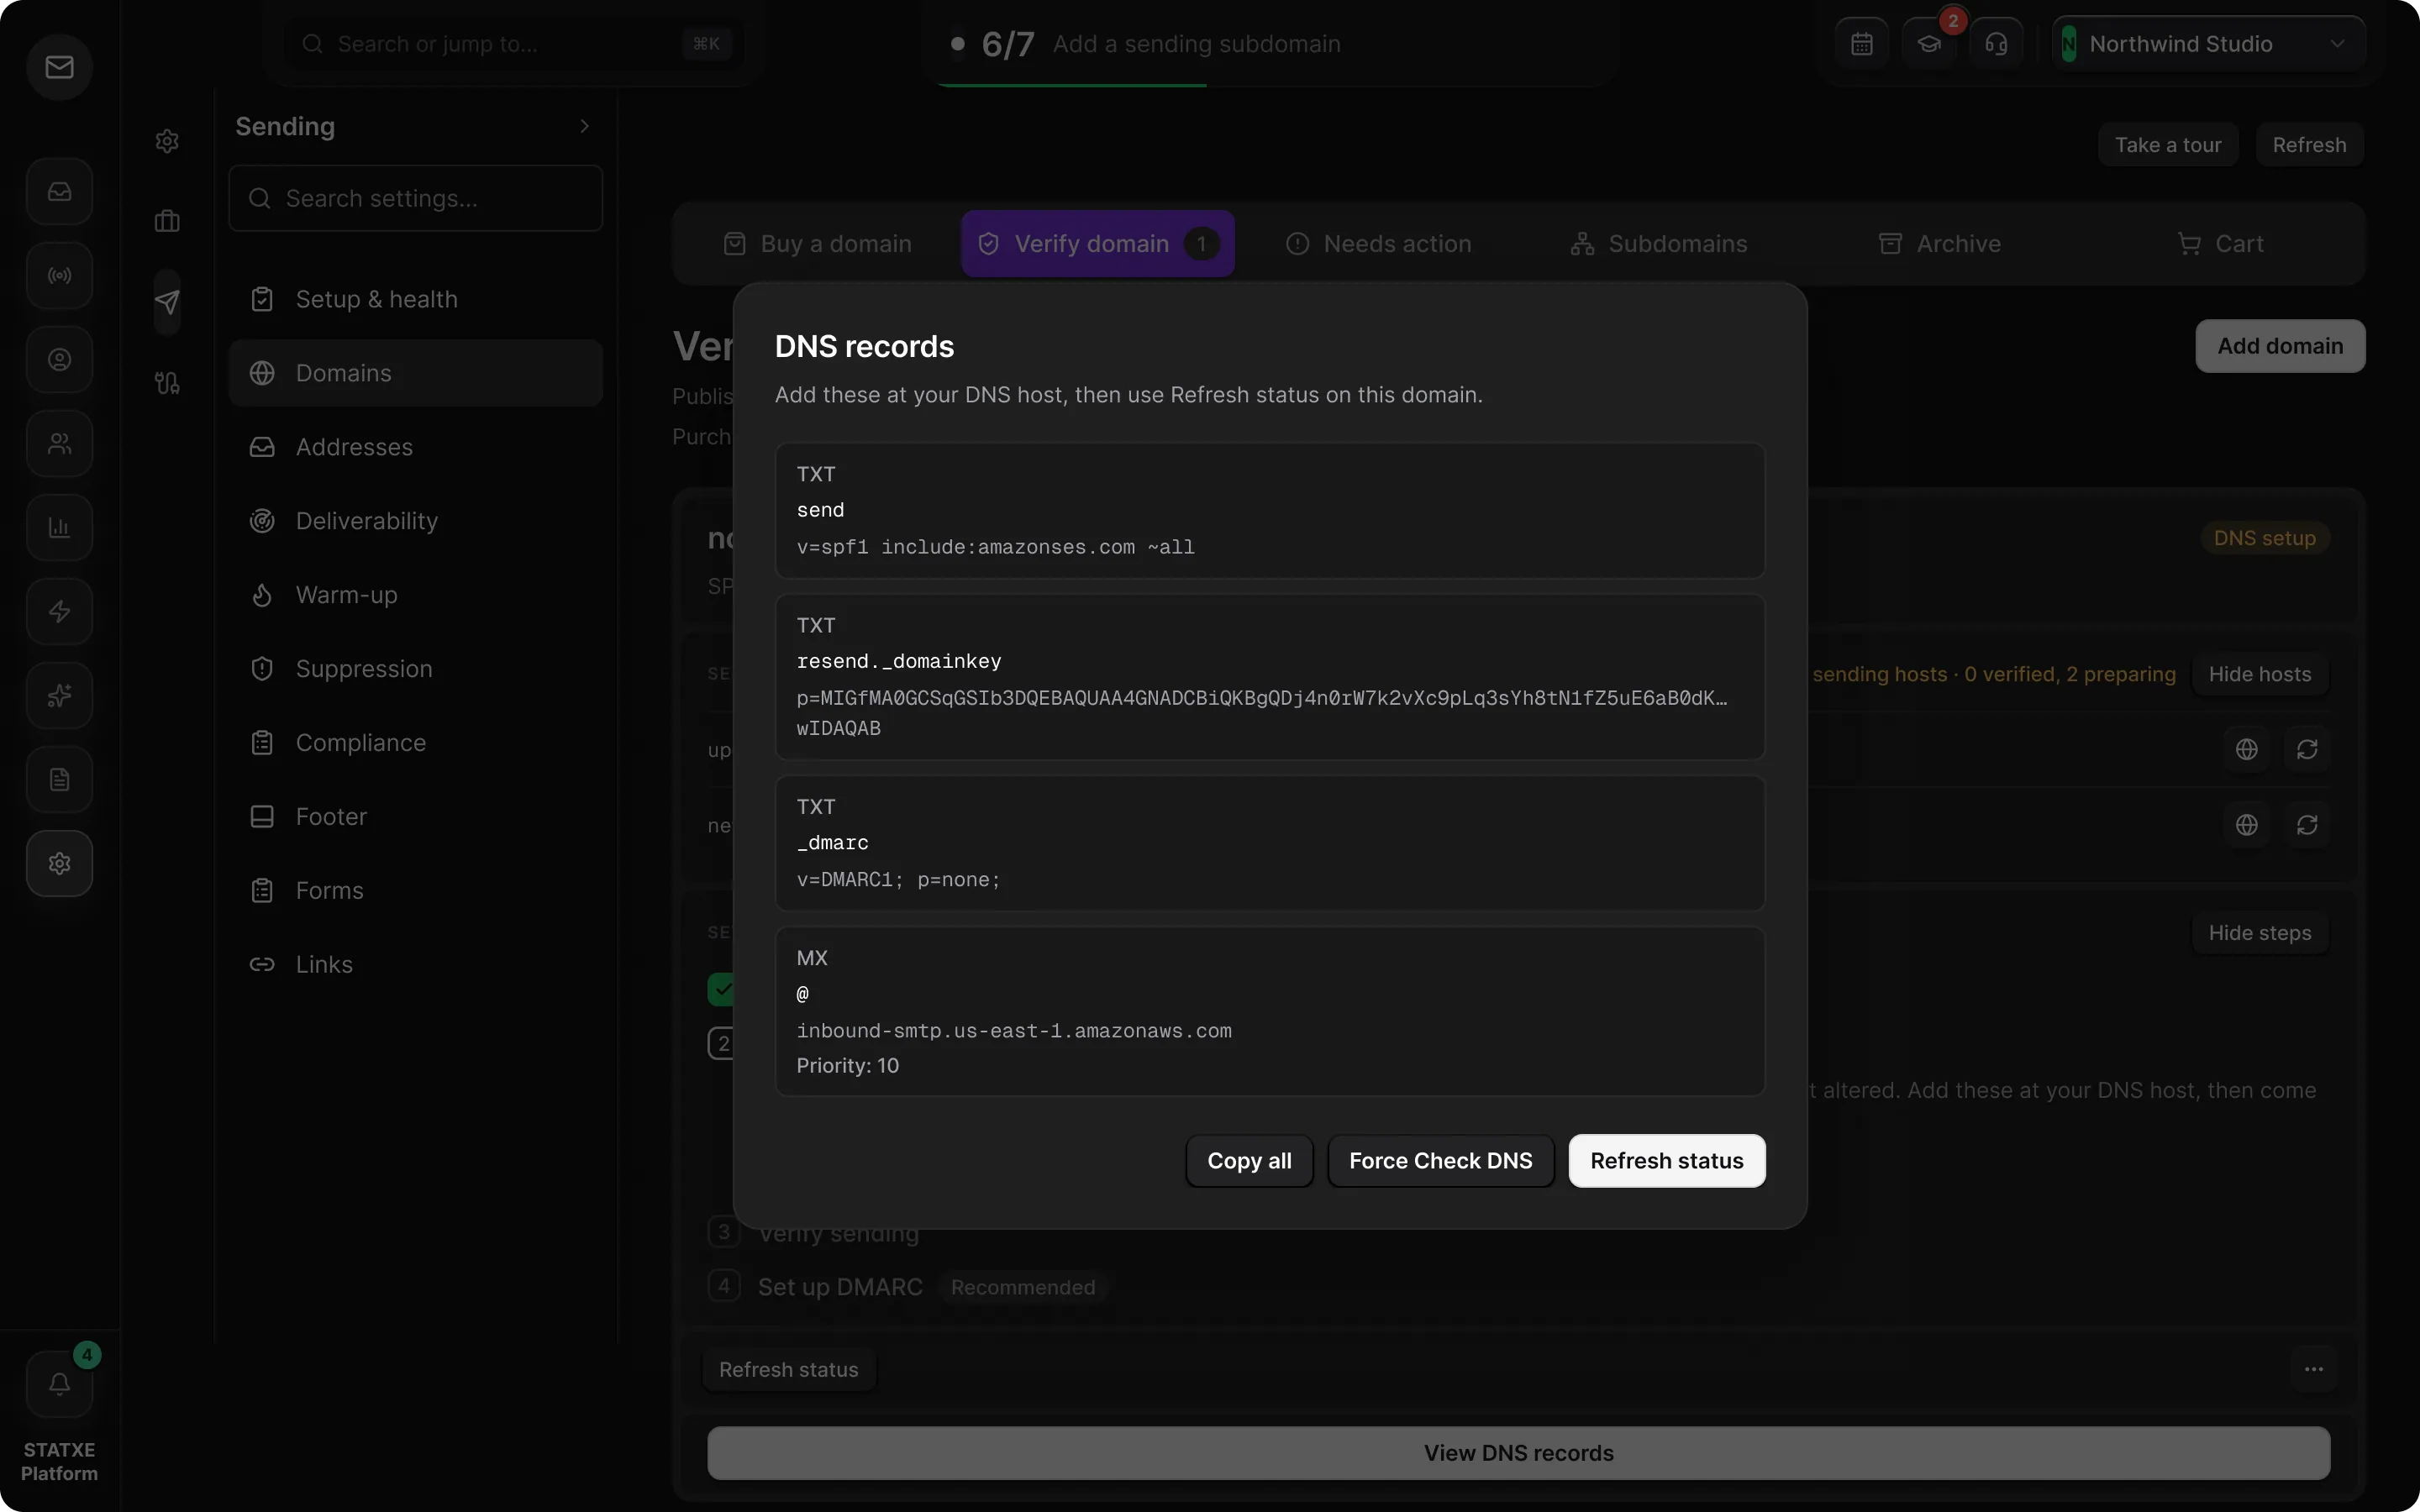
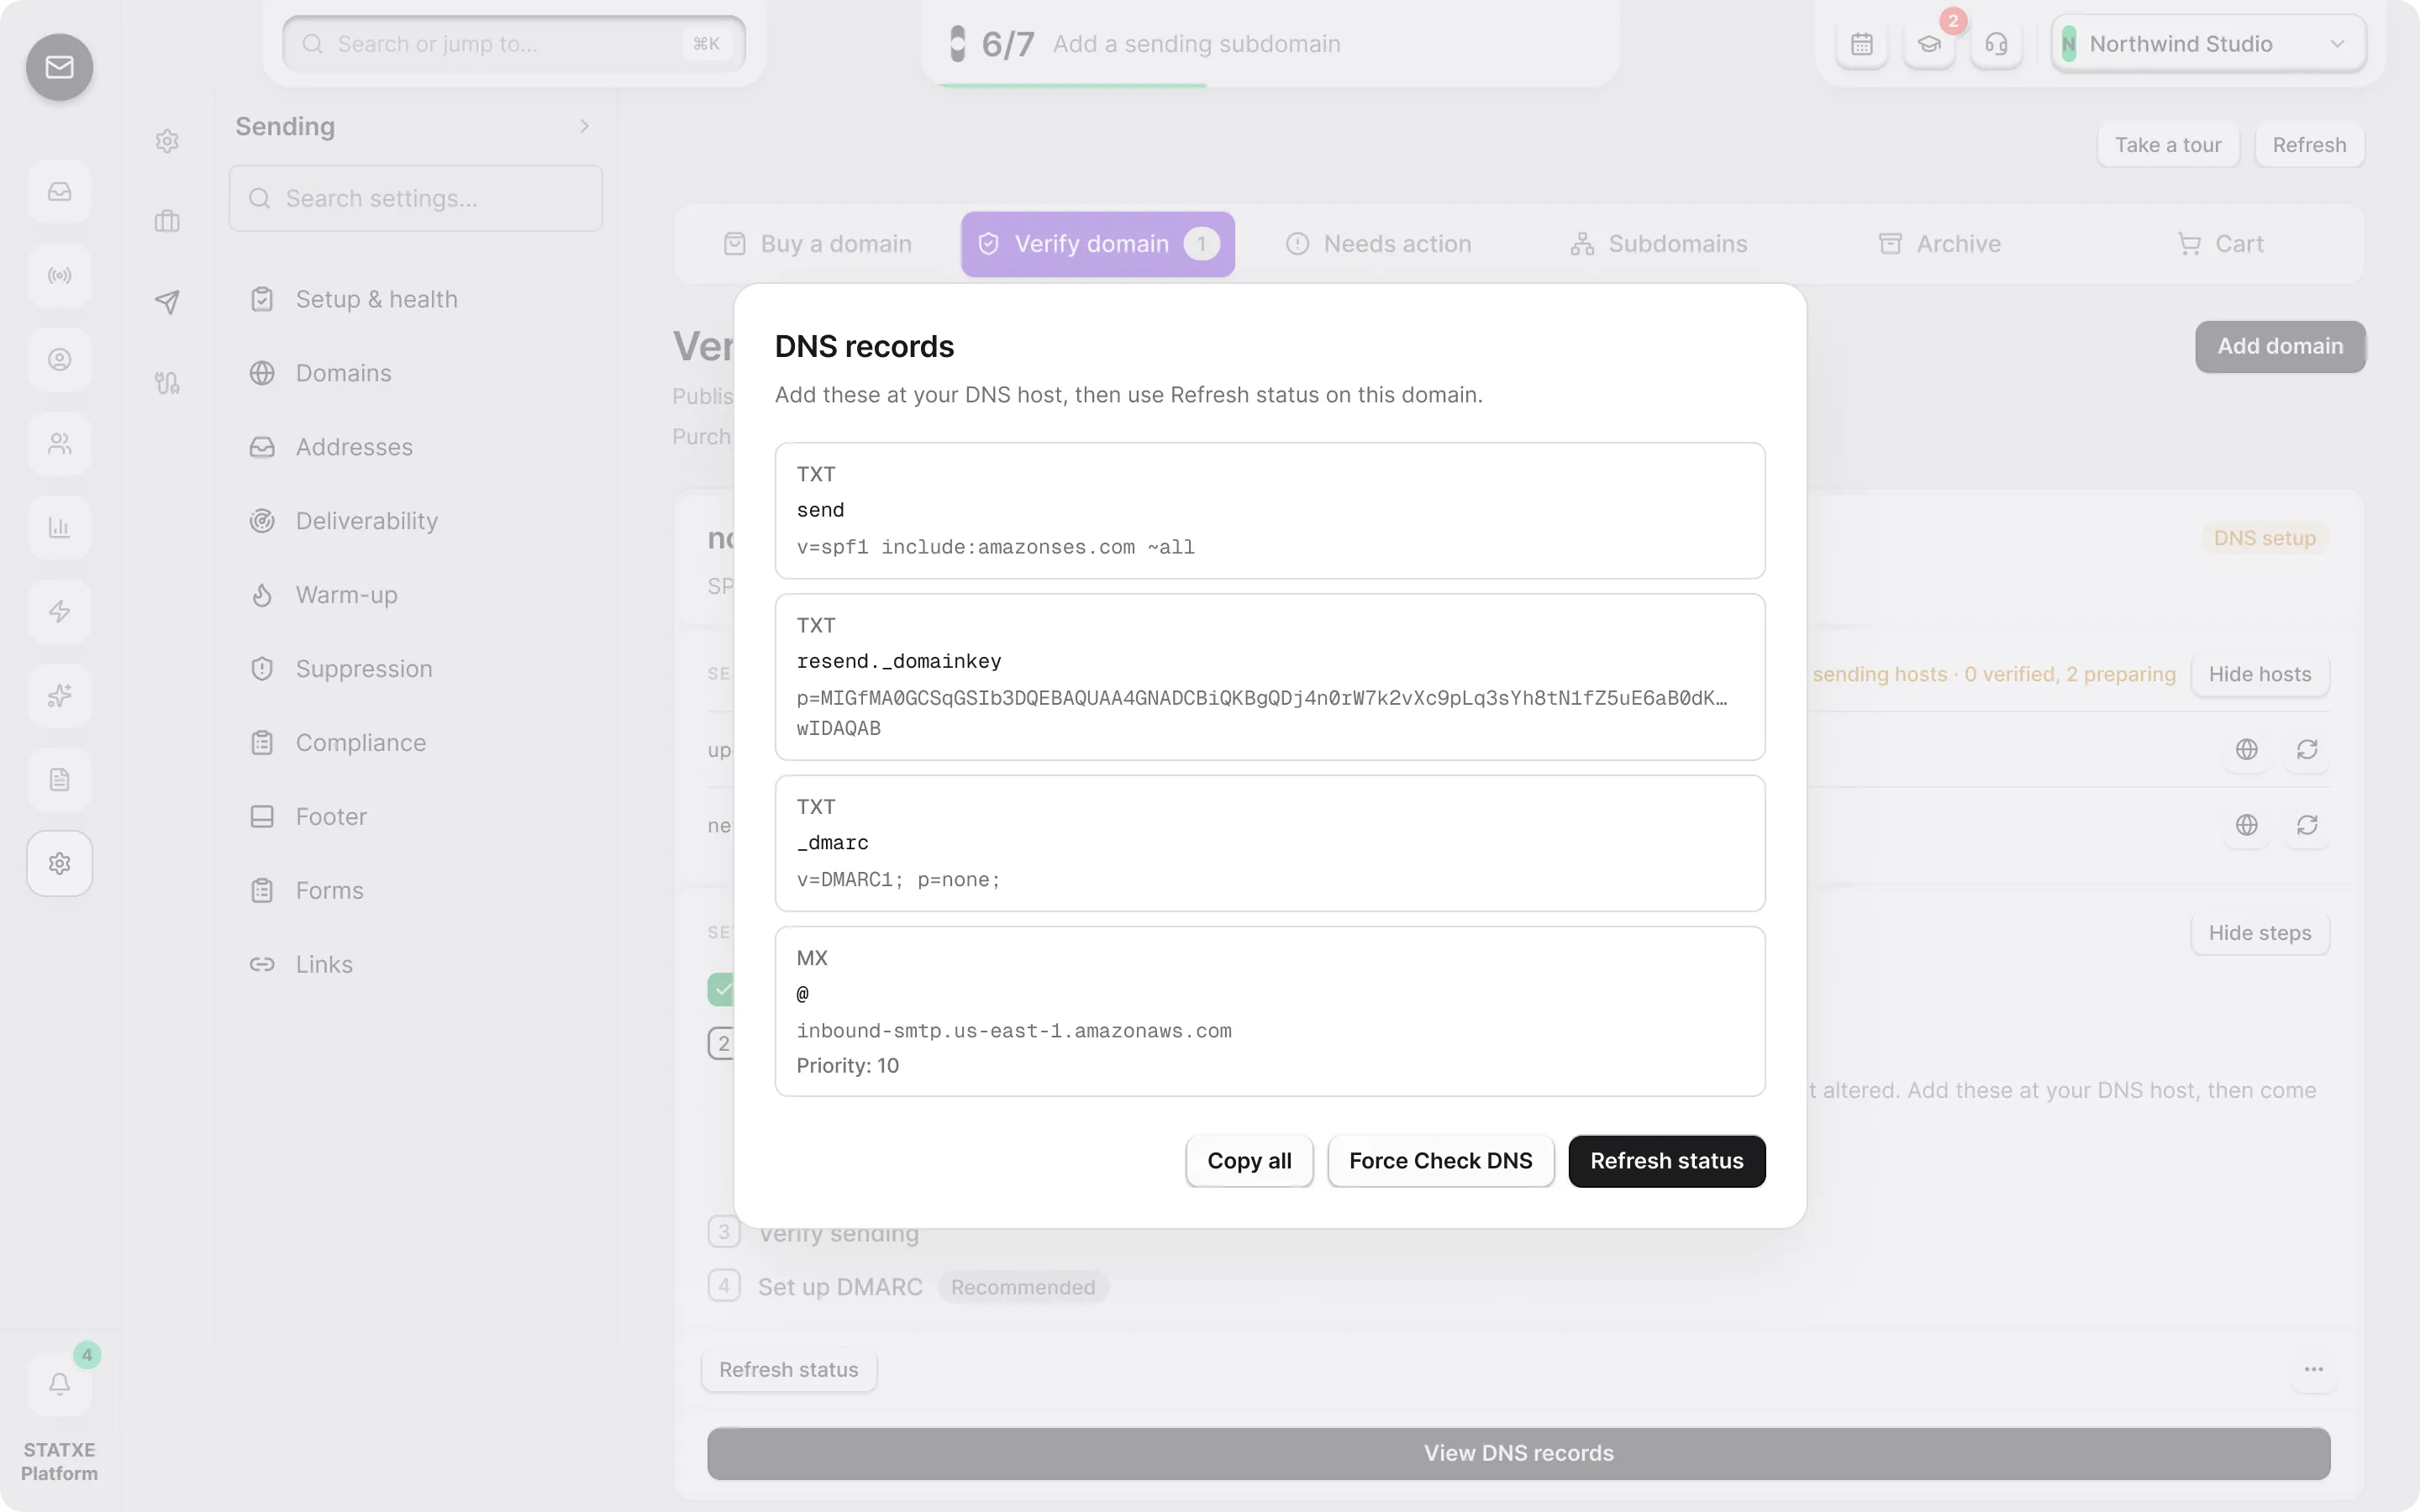
    On that domain, open View DNS records. Copy Type, Name, and Value exactly (and Priority on MX). Names and values are unique to your host — do not invent them.

    You should see this set. Names below are the usual shape; always prefer the panel.

    KindTypeName you usually seeWhat it does
    SPFTXTsend

    Authorizes STATXE to send. Value starts with v=spf1 and includes the provider STATXE shows.

    DKIMTXTresend._domainkey

    Signs outbound mail. Paste the full value; do not wrap it in quotes.

    DMARCTXT_dmarc

    Published on the apex (_dmarc.yourbrand.com). Default is monitor-only: v=DMARC1; p=none;.

    ReceivingMX@

    Inbox replies. Priority is usually 10. Value looks like inbound-smtp.us-east-1.amazonaws.com.

    TrackingCNAME(shown in panel)

    Optional open/click tracking. Skip only if you do not need those links; sending still verifies without it.

  3. Publish them at your DNS host

    At your registrar or DNS host, create one record per row. Some UIs want the short name (send); others want the FQDN (send.yourbrand.com). Match Name from the STATXE panel.

    Do not merge this SPF into an existing root SPF unless you know how to combine include: mechanisms. Do not change the include. Add to DNS only writes zones STATXE hosts — a BYO domain almost always needs a manual paste.

  4. Verify the apex

    Back in STATXE, use Refresh status. If it stays pending, Force Check DNS, wait for TTL, and compare each name and value character-for-character.

  5. Add sending subdomains

    Go to Settings → Domains → Subdomains. A BYO apex shows Manual DNS. Create the hosts you will send from — updates.yourbrand.com is the usual campaign and inbox host. You can also add news, notify, mail, send, broadcasts, or a custom label.

    Each subdomain is its own domain. Open View DNS records on that host and publish a new SPF, DKIM, and (if shown) MX. Do not reuse the apex values on updates.

  6. Verify every host

    Refresh each subdomain until it is verified. Addresses and campaigns should use the subdomain (hello@updates.yourbrand.com), not the apex, once a sending host exists.

Add a BYO domain and publish DNS
Settings → Domains → Verify

Verify domain

Unverified
Add domain

View DNS records

TXTsendSPF
TXTresend._domainkeyDKIM
TXT_dmarcDMARC
MX@Inbox
updates.yourbrand.comManual DNS
Refresh status

Walkthrough playing.